

Restoring a Jeep can be an exciting and rewarding undertaking for beginners and experienced enthusiasts alike. This beloved vehicle, known for its rugged design and off-road capabilities, often captures the hearts of those who seek adventure. However, embarking on a restoration project requires careful planning, dedication, and a willingness to learn.
As a beginner, you may feel overwhelmed by the multitude of tasks that come with restoring a Jeep. From understanding the mechanical system to selecting the right parts, it is essential to approach this journey with a clear strategy. This guide will help you navigate through the essential steps and considerations to ensure a successful restoration process.
Throughout this article, you’ll discover valuable tips and insights tailored for beginners looking to breathe new life into their Jeep. Whether you aim for a complete overhaul or simply want to make some necessary repairs, you will find the tools and knowledge you need to tackle your project confidently. Let’s dive in and transform that classic Jeep into the vehicle you’ve always dreamed of owning!
Choosing the Right Jeep Model for Restoration
For beginners, selecting the right Jeep model for restoration is crucial as it can impact both the enjoyment of the project and the eventual value of the vehicle. Each Jeep model has its unique characteristics, strengths, and challenges, making some better suited for restoration than others.
Popular Models for Restoration
Among the most sought-after models for restoration are the Jeep CJ series and the Jeep Wrangler. The CJ, produced from 1945 to 1986, offers classic styling and simplicity, making it ideal for beginners looking to get hands-on experience without overwhelming complexity. The Jeep Wrangler, introduced in 1987, combines modern durability with the rugged charm of its predecessors, allowing for a blend of classic restoration and contemporary upgrades.
Consider Your Experience Level
Beginners should evaluate their comfort level with mechanical work. Some models, like the CJ-5, have straightforward mechanics that can be easier to repair and maintain. Alternatively, newer models might come with advanced features requiring specialized knowledge, potentially complicating the restoration process.
Parts Availability
Accessibility to parts is another critical factor. Restoration projects can be time-consuming and costly if parts are hard to find. Classic Jeep enthusiasts often favor models for which aftermarket parts are plentiful, such as the CJ-7 and YJ models. This ensures you can source necessary components without extensive delays or excessive costs.
Budget Considerations
Setting a budget is essential when selecting a Jeep model for restoration. While some older models can be found at lower prices, they may require more extensive restoration work, leading to higher overall expenses. Evaluate the condition of potential purchases and factor in the costs of parts, tools, and potential labor for beginners.
Long-Term Goals
Think about what you want to achieve with your restored Jeep. Are you aiming for off-road capability, or is a beautiful showpiece your goal? This will help you determine which model aligns best with your vision and objectives. For instance, if you desire off-road performance, a Wrangler may be the best choice, while a CJ may be more suitable for a classic restoration project.
By carefully considering these factors, beginners can choose the right Jeep model for restoration, setting the stage for a fulfilling and successful project.
Step-by-Step Process for Restoring Jeep Body and Frame
Restoring the body and frame of your Jeep can be an exciting yet challenging task for beginners. This process requires careful planning and execution to achieve the best results. Follow these steps to ensure a successful restoration.
1. Assess the Condition
Begin by thoroughly inspecting the body and frame of your Jeep. Look for signs of rust, dents, or structural damage. Take detailed notes and photographs to document the areas that require attention.
2. Gather Necessary Tools and Materials
Collect all required tools such as wrenches, screwdrivers, sanders, and paint sprayers. Ensure you have restoration materials, including primer, paint, and rust inhibitors. A good quality welding machine may also be necessary for frame repairs.
3. Disassemble the Jeep
Carefully take apart the body panels, bumpers, and any other components attached to the frame. Label each piece to avoid confusion during reassembly. Make sure to store small parts in labeled containers for easy access later.
4. Repair the Frame
If the frame has rust or damage, use a wire brush to clean the affected areas. Apply a rust treatment and perform any welding repairs needed. Ensure the frame is structurally sound before moving forward.
5. Address Body Damage
For any dents or rust on the body panels, sand down the affected areas until smooth. Use body filler to repair larger dents, and ensure it is sanded flat and even. Treat rust spots with a rust converter and sand them down to bare metal.
6. Prepare for Painting
Once repairs are complete, clean the surfaces thoroughly to remove dust and debris. Apply a primer to the entire body to promote paint adhesion. Allow the primer to dry completely before proceeding.
7. Paint the Body
Choose a high-quality automotive paint suitable for your Jeep. Use a spray gun for an even finish. Apply several thin coats rather than one thick coat to prevent runs and achieve a smooth surface. Allow adequate drying time between coats.
8. Reassemble the Jeep
Carefully reattach all body panels and components, ensuring each part is secured properly. Refer to your notes and photographs to ensure everything is placed correctly.
9. Final Touches
Inspect your work by checking for alignment and any missed spots. Clean up any excess paint or debris around the Jeep. Finally, apply a protective wax or sealant to enhance the finish and protect against the elements.
Restoring the body and frame of your Jeep can be a rewarding venture for beginners. By following these steps meticulously, you can ensure a successful restoration that will last for years to come.
Essential Tools and Parts for DIY Jeep Restoration
Restoring a Jeep can be an incredibly rewarding experience, especially for beginners looking to dive into the world of automotive repair. To ensure a successful restoration, it’s crucial to have the right tools and parts at your disposal.
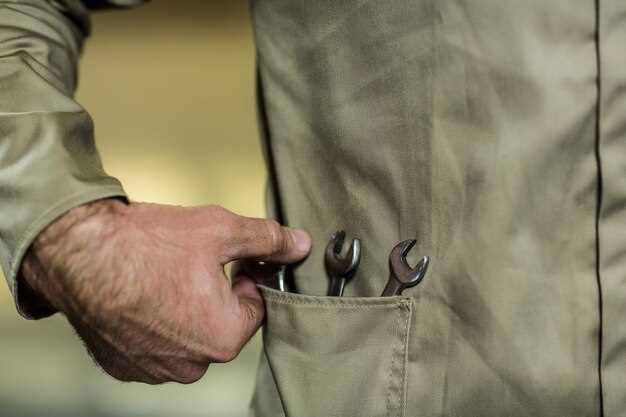
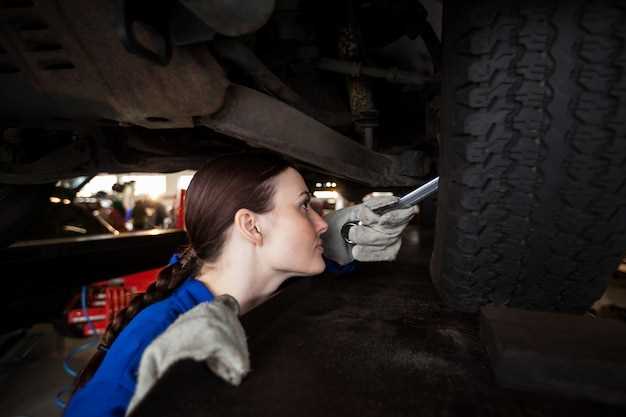
Start with basic hand tools such as wrenches, sockets, and pliers. A good set of metric and standard sockets will help you tackle most fasteners on your Jeep. Torque wrenches are essential for ensuring that bolts are tightened to the manufacturer’s specifications, particularly when working with critical components such as the engine and suspension.
In addition to hand tools, power tools like an impact wrench can significantly speed up your restoration process, especially for stubborn bolts. A quality battery-operated drill is also invaluable for drilling holes or removing rusted metal. Don’t forget a sturdy jack and jack stands for safely lifting your Jeep while you work underneath it.
As for parts, start by assessing the condition of your Jeep. Common areas that often need attention include the suspension, brakes, and engine components. It’s wise to invest in quality replacement parts, such as brake pads, rotors, and shocks, to ensure safety and performance. Consider upgrading to performance-oriented components if you’re looking to enhance your Jeep’s capabilities.
Rust is a common enemy for Jeep owners, so having a rust treatment solution or a replacement body panel might be necessary. Also, having a reliable source for OEM parts or aftermarket modifications can help you find the pieces you need without delay.
Lastly, gather safety gear including gloves, goggles, and a dust mask. Working on a Jeep can expose you to sharp edges and hazardous materials, making personal safety a priority.
Equipping yourself with these essential tools and parts lays a strong foundation for your DIY Jeep restoration journey, empowering beginners to bring their vision to life with confidence.


