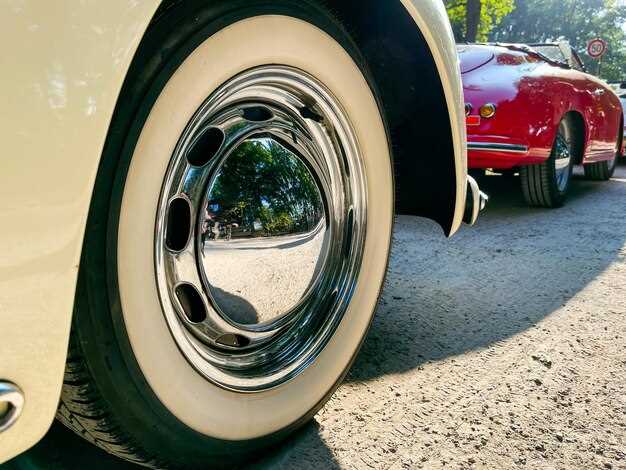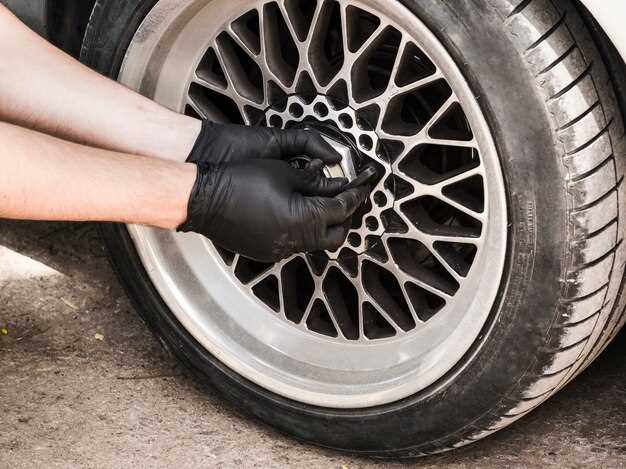

For vintage car enthusiasts, custom wheels are more than just a functional upgrade; they are a statement of style and personality. The right set of wheels can transform the appearance of a classic vehicle, enhancing its overall aesthetic while often improving performance. However, navigating the world of custom wheels can seem daunting, especially for those new to the hobby. This guide aims to simplify the process of selecting and installing custom wheels on vintage cars.
Choosing the perfect custom wheels involves understanding the specifications that complement your vehicle’s unique design and performance capabilities. Factors such as bolt pattern, offset, and material can significantly impact both look and functionality. In this article, we will break down these technical aspects into easy-to-understand elements, ensuring that you can make informed decisions that suit your style and driving needs.
Once you’ve selected the ideal custom wheels, the installation process should be seamless and enjoyable. Whether you’re a seasoned mechanic or a novice, our step-by-step instructions will guide you through each phase of the installation, equipping you with the knowledge needed to achieve professional results. With the right tools and guidance, installing custom wheels on your vintage car can be a satisfying endeavor that enhances both its beauty and performance.
Choosing the Right Size and Style of Wheels for Your Vintage Car

Selecting the appropriate size and style of wheels for your vintage car is crucial for both aesthetics and performance. The size of the wheels affects the overall handling, ride quality, and appearance of your vehicle. Begin by determining the size specifications originally recommended for your car. This information is often found in the owner’s manual or on a label located in the door jamb.
Wheels come in various diameters and widths. A larger diameter can enhance the car’s visual appeal and provide improved braking performance. However, it may also result in a stiffer ride due to reduced tire sidewall height. Consider the type of driving you plan to do with your vintage car; if comfort is paramount, you might want to stick closer to the original size.
Next, evaluate the style of the wheels. Vintage cars often benefit from classic designs that complement their historical charm. Options range from spoke wheels to modern interpretations of traditional styles. When choosing, ensure that the wheel design aligns with the era of your vehicle while still reflecting your personal taste.
Lastly, don’t overlook the material of the wheels. Steel wheels are durable and provide a classic look, while alloy wheels can offer lighter weight and better performance. Consider your specific needs regarding weight, strength, and aesthetics when making your choice. Proper installation is key, so ensure that the wheel size you choose is compatible with your car’s brake components and suspension setup.
Step-by-Step Guide to Removing Old Wheels and Preparing for Installation

Removing old wheels from a vintage car is a critical step in the process of installing custom wheels. Follow these steps to ensure a smooth removal and preparation for your new installation.
First, gather the necessary tools including a jack, jack stands, a lug wrench, and a tire iron. These are essential for safely lifting the vehicle and removing the tires.
Park the car on a flat, stable surface, and engage the parking brake. This is crucial to prevent any unintended movement. If you’re working on uneven ground, consider additional safety measures.
Next, loosen the lug nuts on the wheels. This should be done while the tires are still on the ground to prevent the wheel from spinning. Use the lug wrench to turn each nut counterclockwise until they are loose, but do not completely remove them at this stage.
Once the lug nuts are loosened, use the jack to lift the car. Secure the vehicle with jack stands to ensure stability while you work. It is essential that the car is fully supported before proceeding to remove the wheels.
After securing the vehicle, remove the lug nuts completely and take off the old wheels. Check the condition of the brake components and suspension while the wheels are off, as this is a good opportunity to address any potential issues.
Before installing custom wheels, make sure the wheel hub is clean and free from rust or debris. Also, inspect the new wheels to ensure they are compatible with your vehicle’s specifications. Pay attention to the wheel size, bolt pattern, and offset for a perfect fit.
With the new wheels ready, you can proceed to the installation process, ensuring that each wheel is aligned correctly before tightening the lug nuts in a star pattern for even distribution of pressure. Finally, lower the car from the jack stands and torque the lug nuts to the manufacturer’s specifications.
Ensuring Proper Fitment and Alignment After Installing Custom Wheels
After the installation of custom wheels on vintage cars, ensuring proper fitment and alignment is crucial for both performance and safety. Begin by checking the wheel size to confirm whether it fits correctly within the wheel wells without any rubbing against the suspension components or bodywork. Verify the offset and backspacing of the wheels; these parameters determine how the wheels sit in relation to the car’s chassis. Incorrect offset can lead to inadequate handling and potential damage to the vehicle.
Next, proceed to examine the lug nut torque specifications. Following the manufacturer’s guidelines for tightening is essential for avoiding wheel vibration or detachment while driving. After the wheels are securely fastened, a professional wheel alignment should be performed. This process adjusts the angles of the wheels to ensure they are perpendicular to the ground and parallel to each other. Misalignment may lead to uneven tire wear and compromised handling characteristics.
It is also advisable to monitor the vehicle’s handling post-installation. Pay attention to any pulling to one side or abnormal noises, as these could indicate misalignment or other issues. Regular checks on tire pressure and tread wear will help maintain optimal performance of the new wheels. Ensuring proper fitment and alignment not only enhances aesthetics but also significantly improves driving comfort and safety on the road.


